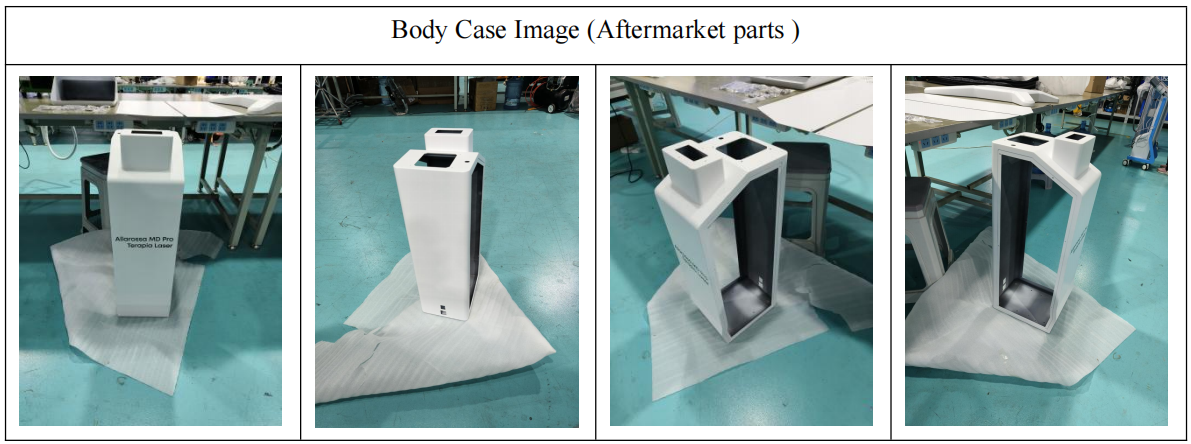
| origin:China | material:Sheet Metal | Weight:20/kg |
Attention
This aftermarket parts(body case) is used to repair the machine,please follow the instructions below to install, thanks. When using aftermarket parts to repair machine malfunctions, it's essential to follow a clear, step-by-step approach to ensure the repair is done properly, safely, and without causing further issues. Below are general instructions for installing aftermarket body case :
1. Identify the problem
Diagnosis: The casing is broken, causing the machine to not work properly, so the casing parts are reissued and the machine is repaired
2. Choose Compatible Aftermarket Parts
Compatibility Check: Ensure the aftermarket parts (body case) are compatible with your machine's model and specifications. If possible, verify the part number and check the manufacturer's guidelines.
3. Gather Tools and Materials
Tools Needed: Depending on the machine and the repair, common tools might include wrenches, screwdrivers, pliers, sockets, a torque wrench. Safety Gear: Wear appropriate safety equipment, such as gloves, to protect yourself during the repair process.
4. Power Down and Disconnect
Turn Off the Machine: Always disconnect power sources before starting any repair to prevent electrical shock, injury, or accidental machine activation. Disconnect Batteries or Power Supply: If the machine runs on a battery or is powered by external electricity, make sure these are disconnected as well.
5. Disassemble the Faulty Component
Documentation: If possible, take photos of the machine before disassembling it to help with reassembly. Remove the Faulty Part: Carefully remove the damaged or malfunctioning part. Keep track of any screws, bolts, or fasteners to ensure nothing is lost. Inspect for Additional Damage: Check surrounding components for signs of wear or damage that may have contributed to the malfunction.
6. Install the Aftermarket Part
Preparation: Unbox and inspect the new aftermarket part to ensure it’s in good condition, free from defects, and matches the specifications required for your machine. Alignment and Fitting: Align the new part (body case) carefully and ensure it fits securely. Follow instructions video provided with the part for proper installation. Torque Specifications: If required, tighten bolts or screws to the manufacturer’s torque specifications to avoid under-tightening (which could cause a loose fit) or over-tightening (which could damage the part or surrounding components).
7. Reassemble the machine
Reinstall all removed housing and all accessories: Reassemble the machine in reverse order of disassembly process. Make sure all screws, bolts and fasteners are properly tightened. Check for fit: Double check that all components have been reassembled correctly and make sure there are no extra parts left.
8.Test the Machine
Initial Test Run: Power up the machine and run a test to check if the issue is resolved. Observe for any abnormal noises, or performance issues.Check Functionality: Verify that the machine is operating as expected.
9. Monitor performance
Post-repair inspection: After a short test run, check the machine again. Make sure the new housing is functioning properly and no other faults have occurred. Long-term monitoring: Keep an eye on the machine's performance over the next few days or weeks to make sure the repair was successful and no new problems have arisen.
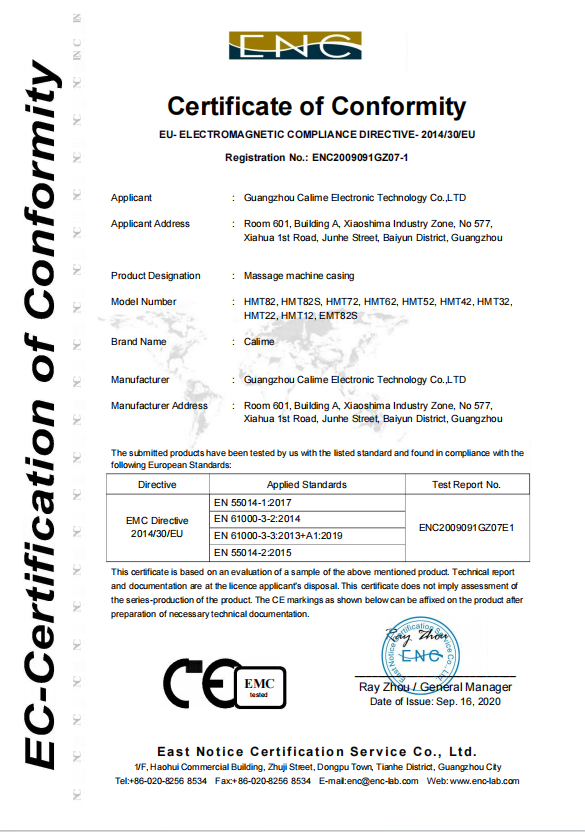
authentication
Receive additional support with our on-site installation, maintenance, repair, and free replacement parts services for 1 year after the purchase. Service is provided in your local area or an engineer will come to you. Claim compensation if the service received differs from the agreed terms.
How to apply for after-sales service and support
在后台系统设置->内容设置中设置该内容