| origin:Chinese Mainland | Model Number:BY-30GS | Laser Power:10%-100% |
| Marking Speed:0-8000mm/s | Cooling Way:Air cooling | material:Aluminium alloy |
| Pulse:20 | Weight:63/KG | Core components:Laser source |
| Minimum Line Width:0.01 millimeters (0.0004 inches) | Minimum character:0.2 millimeters (0.008 inches) | |
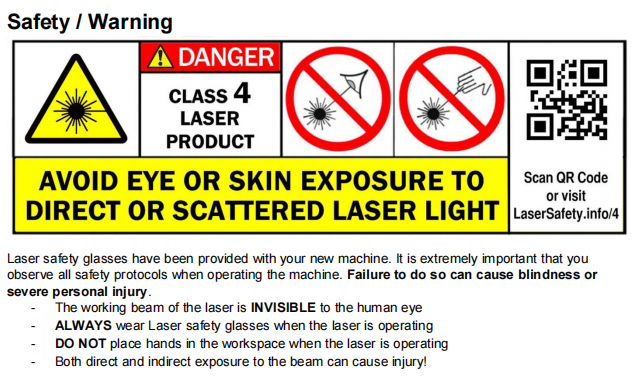
IMPORTANT!
Please read this guide prior to proceeding It contains information on unpacking and setting up your new Fiber Laser Marking Machine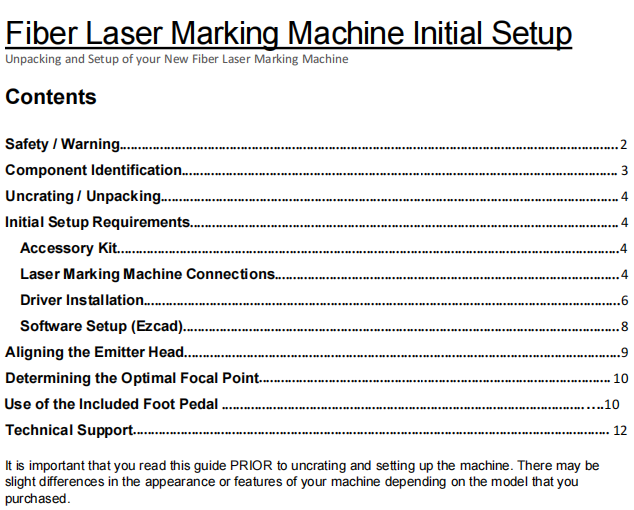
Component Identification
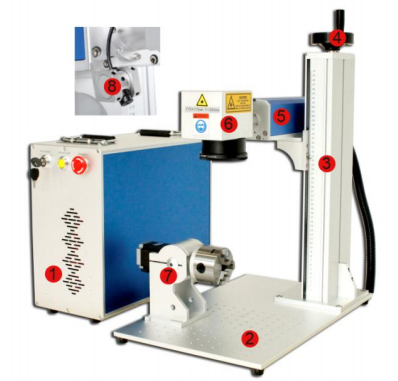
1. Laser Source/ Controller
2. Working Platform
3. Supporting Column
4. Adjustment Handle (Focus)
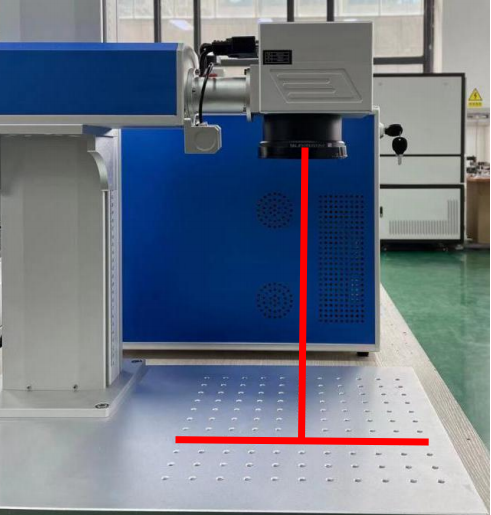
5. Laser Path / Platform
6. Scanning Head
7. Rotary chuck (optional)
8. Focusing Assist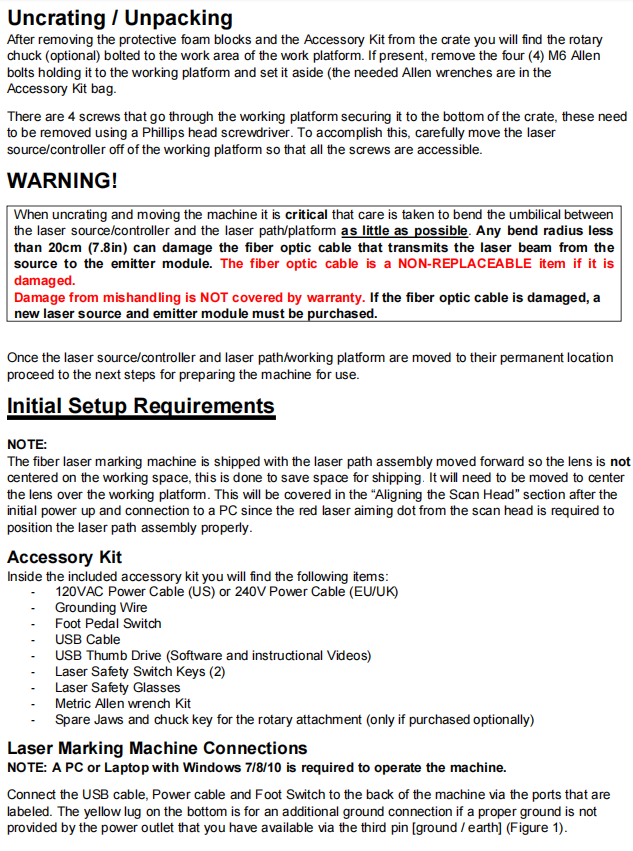
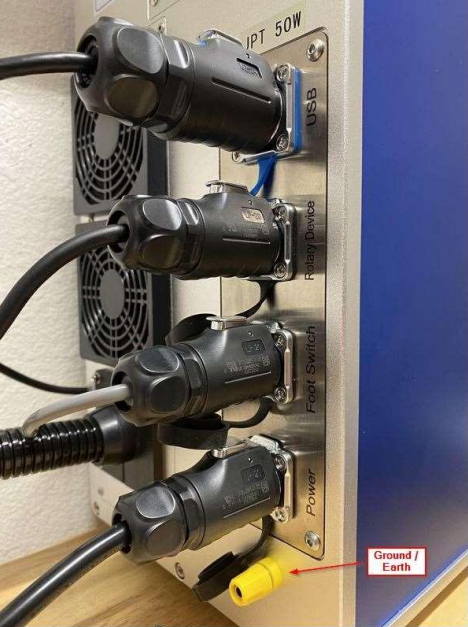
NOTE:
This is also a good time to ensure that all screws between the main laser path and the scan head are tightened down snugly (do not over-tighten) as they may have loosened slightly during shipping. If not properly tightened you will see inconsistencies in marking.
Determining the Optimal Focal Point
In order for your machine to provide the best results it is important that it is focused properly. The laser path can be moved up or down to account for the thickness / height of the objects being marked. The first step is to find the optimal focal point between the lens and the working platform. - Place a piece of test material on the working platform that is a known thickness in millimeters (mm). - Using EZCad draw a 10mm square in the working area and then set the following settings for the object
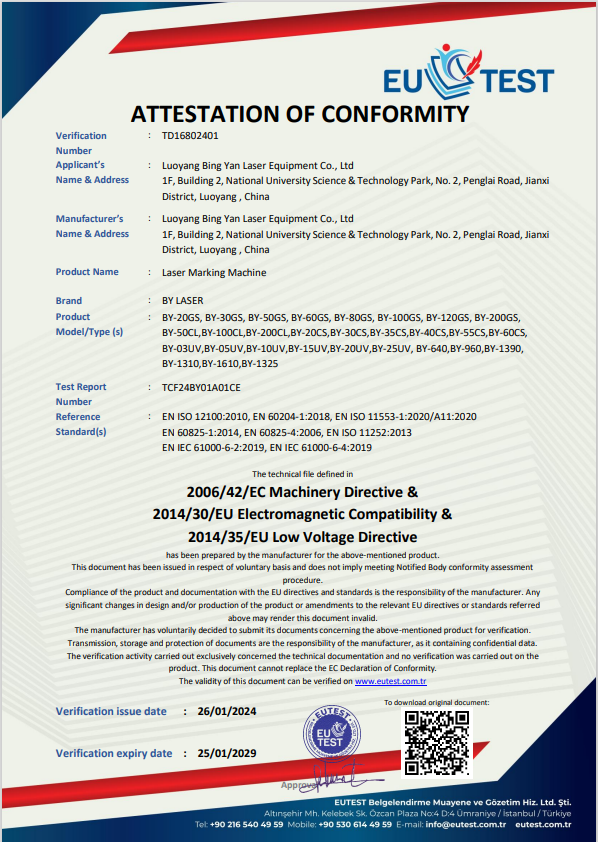
authentication
Receive additional support with our on-site installation, maintenance, repair, and free replacement parts services for 1 year after the purchase. Service is provided in your local area or an engineer will come to you. Claim compensation if the service received differs from the agreed terms.
How to apply for after-sales service and support
在后台系统设置->内容设置中设置该内容